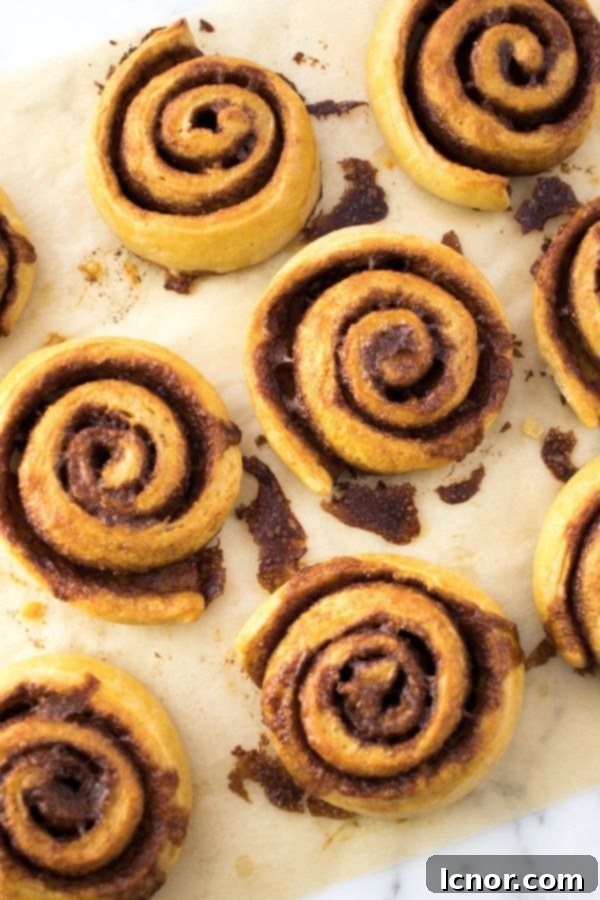
Authentic Kanelsnegle Recipe: Bake the Best Danish Cinnamon Rolls at Home
Step into the warm, comforting world of Danish baking with this authentic Kanelsnegle recipe. These delightful Danish cinnamon rolls, literally translating to “cinnamon snails,” are more than just a sweet treat; they’re a beloved cultural staple, often enjoyed during “hygge” moments with a hot cup of coffee or tea. Forget ordinary cinnamon rolls; Kanelsnegle offer a unique blend of soft, yeasted dough, rich butter, aromatic cinnamon, and the distinctive warmth of cardamom, all baked to golden perfection. Prepare to fill your home with an irresistible aroma and indulge in these mouthwatering pastries made from scratch with simple, wholesome ingredients like milk, flour, dry yeast, brown sugar, fragrant cinnamon, earthy cardamom, sweet vanilla extract, a pinch of salt, creamy butter, and a fresh egg.

Table of Contents
Toggle
What is Kanelsnegle?
If you’ve ever had the pleasure of visiting Denmark, you’ve likely encountered the enchanting aroma of cinnamon wafting from bakeries. That delightful scent is almost certainly the signature fragrance of Kanelsnegle, or Danish cinnamon rolls. These pastries are a cornerstone of Danish culinary tradition, celebrated for their tender, airy dough, rich cinnamon-sugar filling, and distinctive spiral shape.
Kanelsnegle are more than just a pastry; they are an experience. They are typically enjoyed during coffee breaks, known as “kaffetid,” or as a cozy mid-afternoon snack, embodying the Danish concept of “hygge” – a feeling of comfort, coziness, and well-being. Unlike some overly sweet American cinnamon rolls, Danish Kanelsnegle strike a perfect balance, often featuring a subtle glaze or simply an egg wash that highlights the pastry’s natural flavors rather than overpowering them.
The name itself, Kanelsnegle, literally translates to “cinnamon snails” (Kanel meaning cinnamon and Snegle meaning snails), a charming nod to their iconic coiled appearance. What truly sets them apart is the generous use of ground cardamom in the dough, which imparts a fragrant, slightly spicy, and distinctly Nordic flavor that elevates them beyond a simple cinnamon roll.
How to Pronounce Kanelsnegle
Don’t let the Danish name intimidate you! Pronouncing “Kanelsnegle” is simpler than it looks. You can say it like: kah-NELL-snail-uh. The “uh” at the end is very soft, almost swallowed. Getting the pronunciation right adds to the authentic experience when sharing these delicious treats!
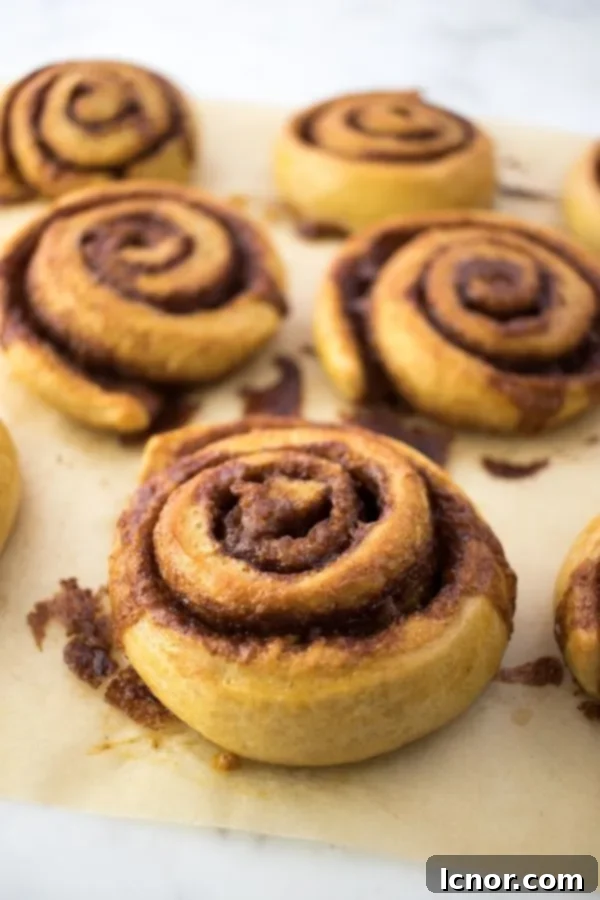
The Essential Kanelsnegle Ingredients
Creating perfect Kanelsnegle relies on a balance of high-quality ingredients and careful preparation. Here’s a look at what you’ll need, and why each component is crucial:
- Milk: Lukewarm milk is essential for activating the dry yeast, creating a soft and pliable dough. Whole milk will yield a richer, more tender result.
- Flour: All-purpose flour is suitable, but a bread flour can add a bit more structure, making the rolls chewier.
- Dry Yeast: This is the leavening agent that makes your rolls rise, giving them their characteristic airy texture. Ensure your yeast is fresh and active for best results.
- Brown Sugar: Used in both the dough and the filling, brown sugar adds a deep, molasses-like sweetness and helps keep the rolls moist.
- Cinnamon: The star spice! Use high-quality ground cinnamon for the most aromatic and flavorful filling.
- Cardamom: This is the secret ingredient that gives Kanelsnegle their unique Danish flavor profile. Don’t skip it! Freshly ground cardamom pods will offer the most intense flavor.
- Vanilla Extract: Enhances the overall sweetness and provides a comforting aromatic note to the dough.
- Salt: A small amount of salt balances the sweetness and brings out the flavors of the other ingredients, while also controlling yeast activity.
- Unsalted Butter: Crucial for both the rich dough and the decadent filling. Using softened, unsalted butter ensures easy incorporation and control over the salt content.
- Egg: Used as an egg wash for glazing, it gives the Kanelsnegle their beautiful golden-brown, glossy finish.
Each of these ingredients plays a vital role in achieving the authentic taste and texture of traditional Danish cinnamon rolls. Choosing good quality products will truly make a difference in the final product.
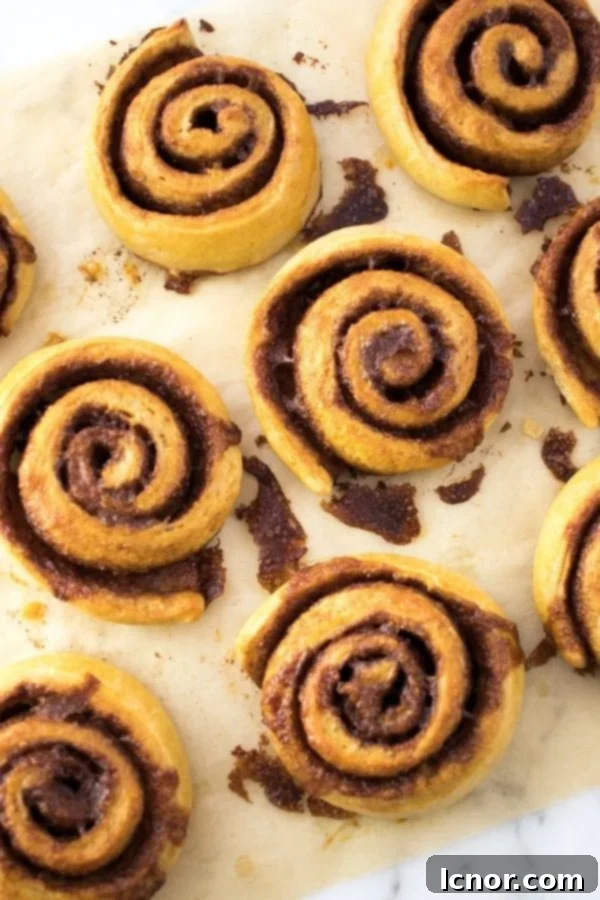
Step-by-Step Guide to Making Kanelsnegle (Danish Cinnamon Rolls)
Baking these traditional Danish pastries is a rewarding experience. Follow these detailed steps to ensure your homemade Kanelsnegle turn out perfectly soft, fragrant, and utterly delicious.
Prepare the Dough: The Foundation of Flavor
- Step 1 – Activate the Yeast: In a small bowl, gently mix the dry yeast with 1 tablespoon of brown sugar, 2 tablespoons of flour, and 1/4 cup of lukewarm milk. Ensure the milk is not too hot (which can kill the yeast) or too cold (which won’t activate it). Let this mixture rest for about 10 minutes. You should see it become foamy, indicating the yeast is active and ready to work its magic.
- Step 2 – Combine Dry Ingredients: In the large bowl of your stand mixer, combine the remaining flour with the cinnamon, ground cardamom, and salt. These spices are crucial for giving your Kanelsnegle their distinctive Danish aroma.
- Step 3 – Add Yeast Mixture: Pour the activated yeast mixture into the dry ingredients in your stand mixer. Attach the dough hook.
- Step 4 – Incorporate Liquids: With the mixer on a low speed, slowly add the rest of the milk and the vanilla extract. Mix until the dough just starts to come together.
- Step 5 – Knead the Dough: Add the softened unsalted butter, piece by piece, allowing it to fully incorporate. Increase the mixer speed to medium and knead for a full 10 minutes. This extensive kneading develops the gluten, resulting in a very elastic, smooth, and incredibly tender dough that will produce light and fluffy cinnamon rolls. The dough should pull away from the sides of the bowl and be slightly sticky to the touch.
- Step 6 – First Rise: Form the dough into a ball and place it in a lightly oiled bowl. Cover the bowl tightly with a clean kitchen towel or plastic wrap. Allow the dough to rise in a warm, draft-free place for about 1 hour, or until it has doubled in size. This first rise is critical for flavor development and a light texture.
Prepare the Filling: The Sweet Core
- Step 7 – Mix the Filling: While the dough is rising, prepare the heavenly filling. In a medium bowl, combine the softened unsalted butter with the brown sugar and cinnamon. Mix thoroughly until you have a smooth, spreadable paste. The consistency should be easy to spread without tearing the dough.
Assemble: Creating the Signature Spiral
- Step 8 – Punch Down Dough: Once the dough has risen, gently punch out the air. This redistributes the yeast and prepares the dough for shaping.
- Step 9 – Roll Out Dough: On a lightly floured surface, use a rolling pin to roll out the dough into a large rectangle, approximately 12×18 inches (30×45 cm). Aim for an even thickness across the entire rectangle to ensure uniform baking.
- Step 10 – Spread the Filling: Carefully spread the prepared cinnamon-sugar filling evenly over the entire surface of the rolled-out dough, leaving a small border (about half an inch) along one of the longer edges. This edge will act as a seal for your roll.
- Step 11 – Roll the Dough: Starting from the longer edge opposite the small border, carefully roll up the dough into a tight but not overly compressed cylinder. Rolling too tightly can result in dense rolls, while rolling too loosely can make the filling fall out. Aim for a consistent, firm roll about 12 inches (30 cm) long.
- Step 12 – Cut the Rolls: Using a sharp knife or even unflavored dental floss for clean cuts, slice the cylinder into 12 equal parts, each about 1 inch thick. This will give you beautifully uniform “cinnamon snails.”
- Step 13 – Second Rise (Proofing): Arrange the cut Kanelsnegle on a baking sheet lined with parchment paper, leaving some space between each for them to expand. Cover them with a clean towel and let them rise again in a warm place for 30 to 45 minutes, or until visibly puffy. This final proofing ensures light and airy rolls.
Bake: Achieving Golden Perfection
- Step 14 – Preheat Oven: Preheat your oven to 400°F (200°C) with a rack in the center. Proper preheating is key for even baking and a beautiful golden crust.
- Step 15 – Glaze with Egg Wash: Lightly brush the tops and sides of the uncooked Kanelsnegle with the beaten egg. This egg wash will give them a lovely golden shine and a slightly crisp exterior.
- Step 16 – Bake: Bake for 12 to 15 minutes. Keep a close eye on them; they are done when they are golden brown on top and the filling is bubbly. Over-baking can dry them out.
- Step 17 – Cool: Remove the Kanelsnegle from the oven and transfer them to a wire rack or cookie cooler to cool slightly. While they are delicious warm, allowing them to cool for a few minutes helps the filling to set and prevents them from becoming too sticky.

Tips for Perfect Kanelsnegle
Even seasoned bakers can benefit from a few tricks when tackling a new recipe. Here are some tips to ensure your Kanelsnegle are consistently amazing:
- Yeast Activation is Key: Always check that your yeast is active in the first step. If it doesn’t foam after 10 minutes, your yeast might be old or the milk temperature was off. Start over with fresh yeast to avoid flat rolls.
- Don’t Rush the Kneading: The 10 minutes of kneading in a stand mixer is crucial for developing gluten, which gives the rolls their structure and chewiness. If kneading by hand, it might take 15-20 minutes to achieve a smooth, elastic dough.
- Warm Place for Rising: A warm environment is vital for dough to rise properly. If your kitchen is cold, you can create a warm spot by heating your oven to its lowest setting for a few minutes, then turning it off and placing the covered dough inside (with the door slightly ajar to prevent it from getting too hot).
- Even Dough Thickness: When rolling out the dough, strive for uniform thickness. This ensures all parts of the roll bake at the same rate and have a consistent texture.
- Don’t Over-Tighten When Rolling: Roll the dough into a cylinder firmly but without excessive pressure. Too tight, and the rolls can be tough; too loose, and they might unravel during baking.
- Sharp Knife for Cutting: A very sharp knife or unflavored dental floss will give you clean cuts, preserving the beautiful spiral shape. A dull knife can squash the rolls.
- Avoid Over-Baking: Kanelsnegle bake relatively quickly. Keep an eye on them towards the end of the baking time. They should be golden brown and feel soft to the touch. Over-baking will result in dry rolls.
- Cardamom Quality: For the most authentic flavor, use freshly ground cardamom. You can buy whole green cardamom pods and grind them yourself using a mortar and pestle or a spice grinder. The difference in aroma is significant!
Serving and Storage Suggestions
Kanelsnegle are best enjoyed warm, ideally straight from the oven or reheated slightly. They pair perfectly with a strong cup of coffee or a comforting mug of tea, making them an ideal treat for breakfast, brunch, or an afternoon pick-me-up.
While often enjoyed plain or with just an egg wash, some prefer a simple glaze made from powdered sugar and a little milk or lemon juice for extra sweetness and moisture. A sprinkle of pearl sugar on top before baking is also a popular Danish touch for added crunch and visual appeal.
Storage: Store leftover Kanelsnegle in an airtight container at room temperature for up to 2-3 days. To reheat, you can warm them gently in a microwave for 15-20 seconds or in a preheated oven at 300°F (150°C) for 5-7 minutes until soft and warm.
Freezing: Kanelsnegle freeze exceptionally well. Once completely cooled, wrap individual rolls tightly in plastic wrap and then place them in a freezer-safe bag or container. They can be frozen for up to 2-3 months. To enjoy, thaw them overnight in the refrigerator or at room temperature, then warm them in the oven for a few minutes.
More Delicious Danish Desserts to Try
- 10 Popular Desserts in Denmark
- Vaniljekranse (Danish Butter Cookies)
- Pebernødder (Danish Spice Nuts)
- Fastelavnsboller (Danish Shrovetide Buns)
- Lagkage (Danish Layer Cake)
More Delectable Desserts from Our Kitchen
- Chocolate Dipped Madeleines
- Happy Marriage Cake (Hjónabandssæla)
- Heavenly Fig Sorbet
- Tunisian Orange Cake
- Brown Butter Financiers
- Festive Moelleux au Chocolat
- Gourmet Orange Chocolate Fudge
- Thai Coconut Ice Cream
- Orange Blossom French Meringue Cookies
Authentic Kanelsnegle Recipe Card
Enjoy these amazing, homemade Kanelsnegle! Baking them from scratch will fill your home with an aroma that instantly transports you to a cozy Danish bakery. Share them with loved ones or savor them yourself as a truly satisfying sweet escape.
If you love this recipe, please give it 5 stars! ⭐️⭐️⭐️⭐️⭐️
Pin for later!
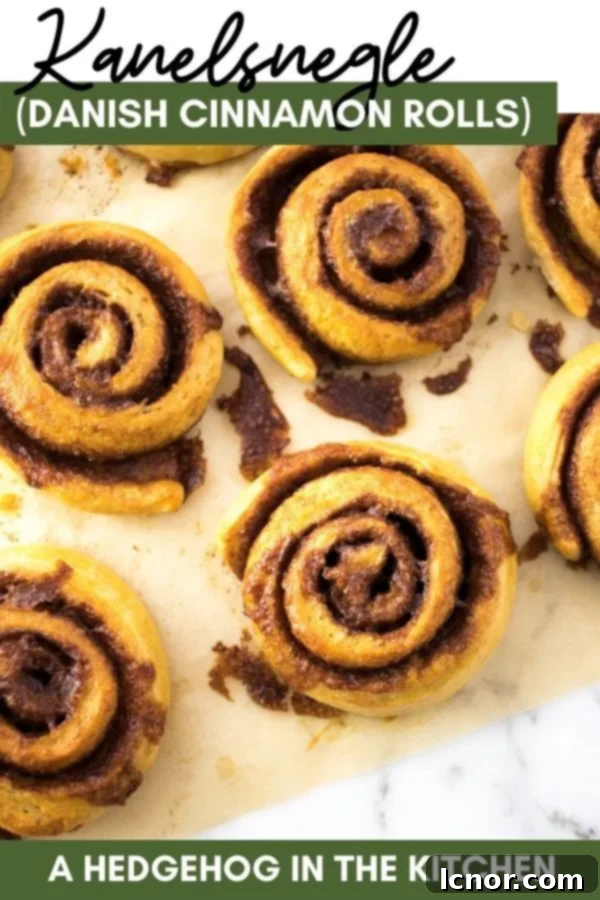
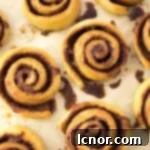
Kanelsnegle (Danish Cinnamon Rolls)
5 Stars 4 Stars 3 Stars 2 Stars 1 Star
No reviews
- Author: A Hedgehog in the Kitchen
Total Time: 2 hours 45 minutes
Yield: 12 rolls
Description
Kanelsnegle (Danish Cinnamon Rolls) are the perfect dessert or tasty snack straight from Denmark! These soft, cardamom-spiced pastries with a buttery cinnamon filling are a delightful treat for any time of day, embodying the cozy spirit of Danish hygge. Enjoy them fresh from the oven!
Ingredients
Scale
For the dough
- 3/4 cup of lukewarm milk
- 2 tbsp of flour
- 1/2 tbsp of dry yeast
- 1 tbsp of brown sugar
- 2 cups of all-purpose flour
- 1/2 tsp of ground cinnamon
- 1 tsp of ground cardamom
- 1/4 tsp of vanilla extract
- 1/4 tsp of salt
- 1/2 stick (4 oz) of unsalted butter (softened)
For the filling
- 2/3 stick (5.33 oz) of unsalted butter (softened)
- 1/2 cup of brown sugar
- 1 tbsp of ground cinnamon
Topping
- 1 large egg (beaten, for egg wash)
Instructions
Prepare the dough
- Activate the Yeast: In a small bowl, mix 1/2 tbsp of dry yeast with 1 tbsp of brown sugar, 2 tablespoons of flour, and 1/4 cup of lukewarm milk. Let this mixture rest for 10 minutes until it becomes foamy.
- Combine Dry Ingredients: In the bowl of your stand mixer, add the remaining 2 cups of flour, 1/2 tsp cinnamon, 1 tsp cardamom, and 1/4 tsp salt.
- Add Yeast Mixture: Pour the activated yeast mixture into the dry ingredients in the stand mixer. Use the hook attachment.
- Incorporate Liquids: Slowly pour in the remaining milk and the 1/4 tsp vanilla extract while mixing on low speed until combined.
- Knead the Dough: Add the 1/2 stick of softened butter to the dough. Mix for 10 minutes on medium speed until the dough is smooth, elastic, and pulls away from the sides of the bowl.
- First Rise: Form the dough into a ball, place in a lightly oiled bowl, and cover with a towel or plastic wrap. Leave to rise in a warm place for 1 hour, or until doubled in size.
Prepare the filling
- Mix the Filling: In a separate bowl, combine 2/3 stick of softened butter, 1/2 cup of brown sugar, and 1 tbsp of cinnamon. Mix until well combined and spreadable.
Assemble
- Punch Down Dough: Gently punch the air out of the risen dough.
- Roll Out Dough: On a lightly floured surface, roll out the dough into a rectangle of roughly 12×18 inches (30×45 cm) with even thickness.
- Spread the Filling: Spread the cinnamon-sugar filling evenly over the entire dough rectangle, leaving a small border on one long edge for sealing.
- Roll the Dough: Starting from the long edge opposite the border, carefully roll up the dough into a 12-inch (30 cm) cylinder. Roll it firmly but not too tightly.
- Cut the Rolls: Using a sharp knife or dental floss, cut the cylinder into 12 equal parts.
- Second Rise: Place the cut rolls on a baking sheet lined with parchment paper, cover with a clean towel, and leave to rise for 30 to 45 minutes, or until visibly puffy.
Bake
- Preheat Oven: Preheat your oven to 400°F (200°C).
- Glaze: Brush the tops of the uncooked Kanelsnegle with the beaten egg wash.
- Bake: Bake for 12 to 15 minutes, until golden brown and the filling is bubbly.
- Cool: Remove from the oven and transfer to a wire rack to cool slightly before serving.
- Prep Time: 45 mins active prep + 1h45 rest
- Cook Time: 12-15 minutes
- Category: Desserts, Pastry
- Cuisine: Danish, Scandinavian
